Knitting instructions for the popcorn jacket by Lana Grossa
The knitting instructions for the popcorn cardigan (model no. 18) come from the Lookbook No. 20 by Lana Grossa. Further information and knitting instructions can be found here:
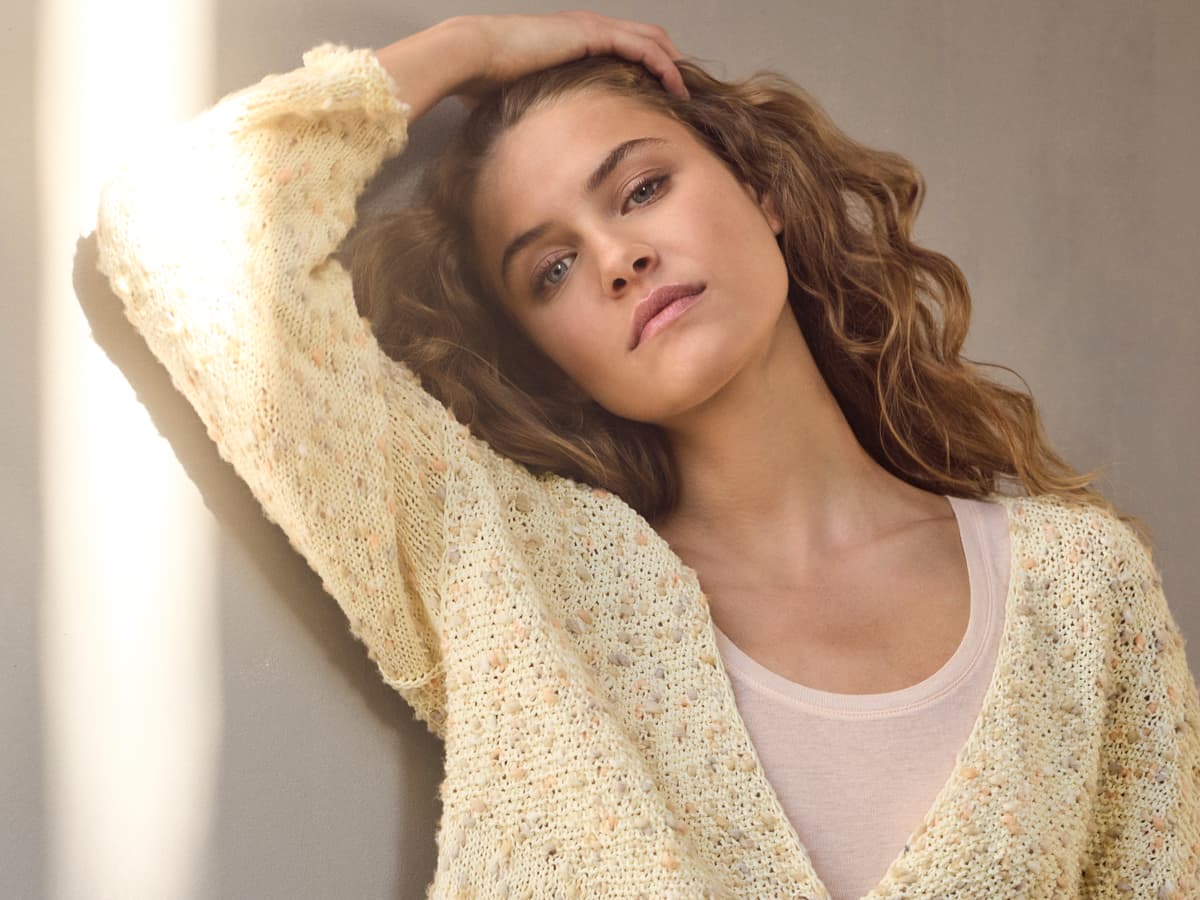
Which wool for them? Popcorn-cardigan?
To knit the top-down cardigan, you need approx. 400 (400 – 450 – 500) g Popcorn from Lana Grossa in the color vanilla/beige/yellow/orange (color 1). The knitting yarn is made of 100% cotton and can be purchased directly from you Specialist dealer for Lana Grossa knitting yarns be purchased.
The following utensils and tools are also required for knitting:
- Short and long circular knitting needles No. 4.5 and No. 5
- Shorter circular knitting needle size 4.5
- Double pointed needles No. 4.5
- 4 mother-of-pearl buttons, diameter approx. 18 mm
Top-down cardigan Popcorn knitting
The cardigan can be knitted in sizes 36/38 (40/42, 44/46 and 48/50). The information for size 40/42 is in brackets, for size 44/46 between, and for size 48/50 after the dividing lines. If there is only one specification, it applies to all sizes. The jacket is knitted top down, starting at the shoulder seam. The sleeves are knitted directly into the armholes from top to bottom.
Stitch sample
17 sts and 26 rows in stockinette st with needle size 5 = 10 x 10 cm. 17 sts and 30 rows in moss stitch with needle number 5 = 10 x 10 cm.
Seed stitch: 1st row
K 1, P 1 alternately. All the following rows: K the stitches that appear on the right and K the stitches that appear on the left.
Double edge sts (over 2 sts)
Beginning of row: Slip edge sts as if to purl, K 1. End of row: Slip 1 st as if to purl, K edge st.
Lifting rib pattern
1st row (RS): K 1, P 1 alternately, finish with K 1. 2nd row (back row): Work the sts that appear on the right, slip the sts that appear on the left with the thread before work as if to purl.
Smooth right
K back st, purl st back. Always work K on the round.
Kraus right
In the round always work 1 round with purl st and 1 round with knit st alternately.
Rib pattern
P1, K1 alternately, finish with P1. Then work the sts as they appear.
Stressed decreases in R
Always work all decreases in one direction. Right edge: Work 2 sts in double edge sts, work 2 sts together according to pattern, continue to work according to pattern in seed stitch. Li Rand:
Pearl pattern
St until the last 4 sts, work 2 sts together according to pattern, work 2 sts in double edge sts. Accented increases in R: Always work all increases in one row. Right edge: Work 2 sts double edge sts, 1 st from the cross thread to the next st twisted out according to pattern, continue working according to pattern in the seed stitch. Left edge: Work seed stitch except for the last 2 sts, 1 st from the cross thread to the next st twisted according to pattern, work 2 sts double edge sts.
Stressed decrease in approx
The two sts before the marker K together and then the two sts after the marker K over together.
Back part
Cast on 107 (114 – 121 – 128) sts with needle size 5 and work between 2 sts of double edge sts in a moss stitch pattern, working the accented decrease on both 8th rows for the dropped shoulders as described above, then 7 x 1 sts alternately in every 6th and 8th row (in every 8th row – alternately every 8th and 10th row – in every 10th row). R) dec as described above = 91 (98 – 105 – 112) sts. 20 (22 – 24 – 26) cm from the cast on, put all sts on a stitch holder.
Li front part
Mark the middle 25 (26 – 27 – 28) sts for the neckline at the stitch cast on the back piece. For the shoulder, from there on the front to the left, pick up the following 5 sts with hook number 5 from the stitch cast-on on the back piece and work in rows in seed stitch, working the double edge sts on the neckline. Then on each row pick up an additional 0 (3 – 6 – 9) x 5 sts and 9 (6 – 3 – 0) x 4 sts from the back piece = 41 (44 – 47 – 50) sts. Continue on row between 2 sts of double edge sts according to the pattern in the moss stitch pattern, at the same time adding 1 st on the right side for the neckline as described above and then 17 x 1 st in each row 4. R emphasizes zu. At the same time as the end of the shoulder slope on the left side, work the accentuated decreases for the overlapped shoulder as for the back piece. At 20 (22 – 24 – 26) cm from the beginning of the armhole, put the 51 (54 – 57 – 60) sts on hold. Note: For the smaller sizes, not all increases have been worked on the neckline yet.
Right front part
Work in the opposite direction to the left front piece. Back and front piece: Now work over all sts together between 2 sts of double edge sts in a moss stitch: both front pieces and in between the 91 (98 – 105 – 112) sts of the back piece, working 2 sts together at the transitions according to pattern. When the neckline is finished, there are 191 (204 – 217 – 230) sts. Continue 8 cm from the end of the armholes according to the pattern division: 2 sts in double edge sts, 9 sts in lifting rib, 169 (182 – 195 – 208) sts in stocking st, 9 sts in lifting rib, 2 sts in double edge sts. 14 (15 – 16 – 17) cm from the pattern change, continue with needle size 4.5 in the following pattern division: 2 sts double edge sts, 9 sts lifting rib pattern, 169 (182 – 195 – 208) sts rib pattern, dec 0 (1 – 2 – 3) sts distributed = 169 (181 – 193 – 205) sts, 9 sts lifting rib, 2 sts double edge sts. After 4 cm cast off the sts.
Bags
Count 8 (9 – 10 – 11) sts for each front piece on the hem above the rib pattern from the lifting rib pattern, pick up 1 st from the following 25 sts on the edge between the rib pattern and stockinette st for each knitted st with needle size 5. Work 7 cm in stockinette st over these 25 sts in row, now continue with needle size 4.5 in rib pattern for 3 cm more, then cast off the sts and sew both sides of the pockets onto the front pieces.
sleeve
Pick up 70 (77 – 84 – 91) sts from each armhole with needle size 5 and work in stockinette st, marking the lower middle of the sleeve and here for the arm bevel, work the accented decreases as described above in every 9th (8th – 7th – 6th) round 9 (10 – 11 – 12) times = 52 (57 – 62 – 67) sts. 36 cm At the beginning of the sleeve, work 4 more rounds in garter st with needle size 4.5, then cast off the sts.
Working out
Sew the buttons on the left front piece: the bottom button 3 cm from the hem edge, the top button at the start of the neckline, and 2 buttons evenly distributed between them. On the right front part, stretch one stitch slightly in each buttonhole and embroider it with a thread.
Would you like to knit the sweater, but you still don’t have the right tools? You can find everything you need to shop here:
#1 circular knitting needles No. 4.5 from KnitPro
#2 Double pointed needles No. 4.5 from KnitPro
In order for the wool to become a beautiful cardigan, you also need to get a set of needles. I have this to re-knit Double pointed needles No. 4.5 from KnitPro used. The needles are beautifully pointed, which makes knitting really easy.